 UPDATE! October 1st, 2023: This version of the website will no longer receive updates. Please transition to the new website for the best experience.
- Lesson Details
- References
- Assignments
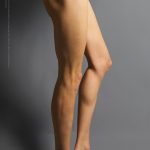
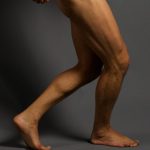
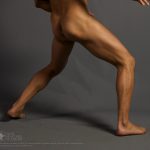
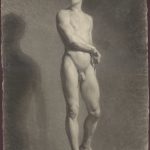
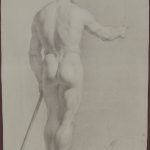
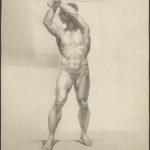
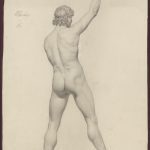
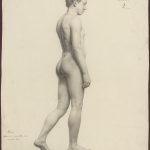
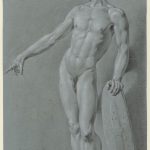
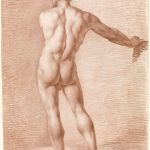
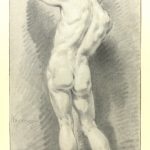
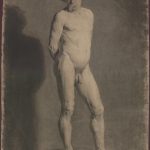
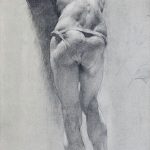
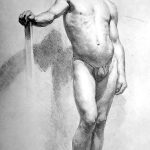
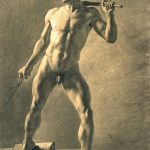
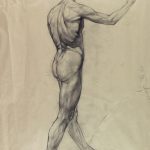
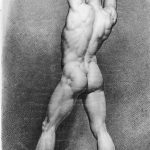
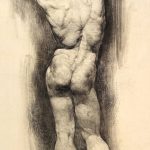
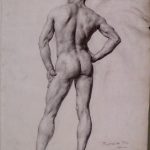
In this series, instructor Rey Bustos brings you a fun, unique introduction to the anatomy of the human body. In this third lesson of the series, Rey shows you the anatomy of the thigh and gluteals. Rey will begin by lecturing on the blackboard, breaking down each bone, muscle, and tendon of the region. Next, he will use photo references to diagram key areas of the thigh and gluteals. Finally, Rey will end the lesson by doing an ecorche drawing demonstration over the photo references.
Recommended Course Material: Rey’s Anatomy: Figurative Art Lessons From the Classroom
29233 views
Reference 3D (5)


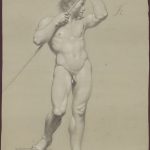
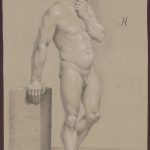
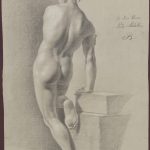
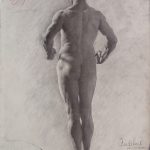
Reference Images (25)


This lesson has Assignments. Subscribe now
Free to try
-
1. Lesson overview
56sNow playing...
Watch the whole lesson with a subscription
-
2. Learning Recommendation
24s -
3. Front and side view of thigh/pelvis bones
15m 44s -
4. Back view of thigh/pelvis bones and introduction of quadriceps
14m 37s -
5. Side view of quadriceps and introduction of adductors
15m 13s -
6. Adductors and flexors
14m 35s -
7. The gluteal muscles
16m 8s -
8. Wrap up of lecture, viewing the upper thigh/pelvis region on skeleton
9m 35s -
9. Diagramming key areas over photo references
9m 57s -
10. Ecorche draw-over of back view on male
8m 43s -
11. Ecorche draw-over of side view on male
14m 9s -
12. Assignment
24s

